Disclosure: As an Amazon Associate, HikePod earns from qualifying purchases at no extra cost to you.
⭐ Our Top Pick
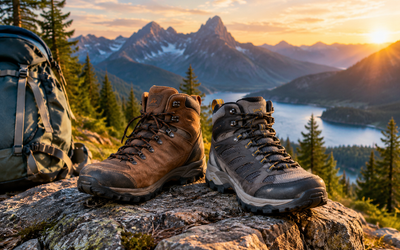
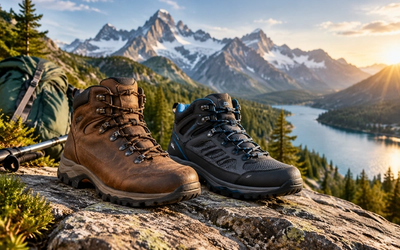
🏆 Best Overall: Merrell Moab 3 Mid Waterproof — break-in free comfort and a decade-proven fit that eliminates the ankle pain most boots cause.
💰 Best Value: KEEN Targhee III Mid Waterproof — wide toe box and generous sizing prevent the pressure points that force your ankle into bad positions.
Introduction
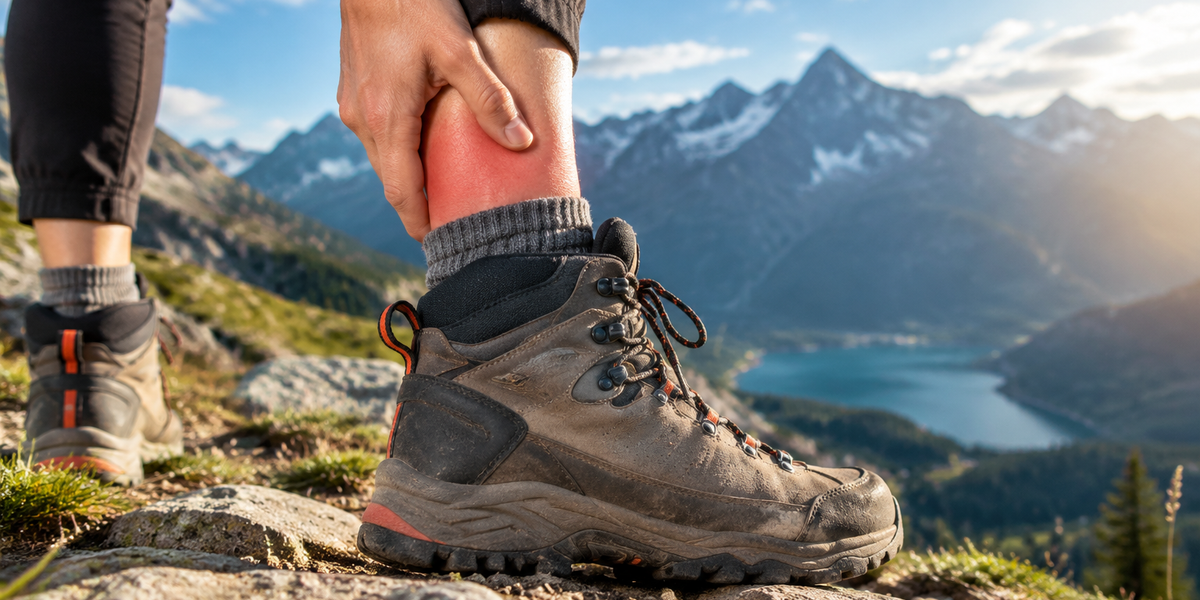
You lace up your new hiking boots, hit the trail, and within two miles your ankles are screaming. The salesperson said they'd "break in," but after three hikes the pain hasn't budged. Here's the truth most boot retailers won't tell you: if your boots hurt your ankles after the first few outings, it's not a break-in issue—it's a fit issue.
We researched hundreds of verified buyer reviews, compared fit specs across two dozen popular models, and identified the five most common ankle-pain culprits. The good news? Most are fixable without buying new boots. The bad news? Ignoring them leads to blisters, tendonitis, and cut-short hikes.
This guide walks you through the real reasons hiking boots hurt your ankles—from heel slip to pressure points—and the solutions that actually work, whether you're troubleshooting boots you already own or shopping for a pair that fits right the first time. If you're debating materials, our guide on leather vs synthetic hiking boots covers how each affects break-in time and long-term comfort.
What to Look For
Heel Lock and Slip Prevention
If your heel lifts even slightly with each step, your ankle is moving inside a rigid cuff—the #1 cause of rubbing, hot spots, and tendon irritation. A proper fit locks your heel down without pinching your Achilles tendon.
Ankle Cuff Height and Padding
Taller cuffs offer more support but also more surface area to rub. Look for boots with padded collars that cushion the malleolus (the bony knobs on either side of your ankle) without creating pressure points.
Lacing System Flexibility
Boots with dual-zone lacing (separate tension zones for forefoot and ankle) let you snug the ankle cuff without strangling your toes. Single-zone lacing forces you to choose between heel lock and toe comfort—a recipe for pain.
Volume Match to Your Foot
High-volume feet (wide, high arch, thick ankles) swimming in a low-volume boot will develop slop and friction. Low-volume feet crammed into a roomy boot will see pressure points. Volume matters as much as length.
Break-In Honesty
Leather boots need 20-40 miles to soften; synthetics are trail-ready in 5-10 miles. If ankle pain persists beyond that window, the boot doesn't fit your anatomy. For a detailed timeline, see our breakdown of how long it takes to break in hiking boots.
Insole and Arch Support
A collapsing arch throws your ankle alignment off, forcing compensatory motion that strains ligaments. Quality insoles (or custom orthotics) stabilize your foot and reduce torque on the ankle joint.
The Real Culprits Behind Ankle Pain
Heel Slip: The Silent Blister Maker
When your heel lifts with each step—even a quarter inch—your ankle rubs against the boot's stiff cuff. Multiply that by 5,000 steps and you've got raw skin, blisters, and inflamed tendons. Heel slip happens when:
- The boot is too long (your toes don't hit the front when going downhill, so your foot slides back)
- The heel cup is too wide or shallow for your heel shape
- You're using the wrong lacing technique (more on this below)
The fix: Try the heel-lock lacing technique (also called "runner's loop"). Thread your laces through the top eyelets to create a loop, then cross the laces through the opposite loop before tying. This cinches the ankle cuff down independently of the rest of the boot. If that doesn't work, the boot is the wrong shape for your heel—consider a different model with a narrower or deeper heel cup.
Pressure Points from Ankle Bone Contact
The malleolus—those bony knobs on either side of your ankle—stick out more on some people than others. If the boot's ankle cuff hits them directly, you'll feel a sharp, localized pain that worsens with every step. This is common in boots with thin padding or a narrow ankle opening.
The fix: Look for boots with asymmetric padding around the ankle cuff or a slightly lower cut that clears your ankle bones. The Merrell Moab 3 Mid Waterproof has a reputation for accommodating prominent ankle bones thanks to its soft, molded collar. If you're stuck with a boot that rubs, try moleskin patches on the inside of the cuff (rough side against the boot, smooth side against your skin) to add a buffer layer.
Volume Mismatch: Too Much or Too Little Room
A boot that's too roomy lets your foot slide around, creating friction. A boot that's too snug compresses your ankle, restricting circulation and nerve pathways (hello, numbness and tingling). Volume is distinct from length—a size 10 boot can come in narrow, regular, or wide volumes.
The fix: Most brands publish volume specs (low, medium, high). If your current boots feel sloppy, size down in volume or try a narrower last. If they feel like a vice, look for wide or high-volume models. The KEEN Targhee III is legendary among hikers with wide feet or high insteps—its generous toe box and roomy midfoot eliminate the squeeze that forces your ankle into bad positions.
Stiff Cuff Syndrome: When Support Becomes Restriction
Tall, stiff ankle cuffs are marketed as "supportive," but for hikers with flexible ankles or those who like to move fast, they can feel like casts. If your natural ankle range of motion exceeds what the boot allows, you'll fight it with every step—leading to tendonitis, shin splints, and general misery.
The fix: Consider a low-cut or mid-cut boot with less rigid ankle support. Many thru-hikers have switched to trail runners or approach shoes for this exact reason. If you need waterproofing but want more flex, the Salomon X Ultra 4 GTX delivers Gore-Tex protection in a low-cut design that lets your ankle move naturally while still providing stability through a snug, precise fit.
Lacing Errors: Tension in the Wrong Places
Over-tightening the lower eyelets while leaving the top loose creates heel slip. Over-tightening the top while leaving the lower loose causes toe cramping and numbness. Single-zone lacing systems force you to choose; dual-zone systems let you customize.
The fix: Use zone-specific tension. Snug the lower eyelets to secure your forefoot, then use the heel-lock technique at the top to lock your heel without strangling your toes. If your boots lack speed hooks or multiple lacing zones, consider aftermarket laces with variable elasticity (stretchy in the toe box, firm in the ankle).
💡 Pro Tip: Before blaming the boot, check your socks. Thin, worn-out socks allow more slippage and friction. Upgrade to merino wool hiking socks with reinforced heels and you might solve the problem without touching your laces.
How to Test Boot Fit Before You Buy
The Downhill Test
In the store, find a ramp or incline (or ask to step outside). Walk downhill in the unlaced boots. Your toes should just barely touch the front. If they slam into the toe box, the boot is too short. If they don't touch at all, it's too long—and your heel will slip on real descents.
The Kick Test
Lace the boots fully, then kick a wall (gently). Your toes should not hit the front. If they do, you need a half-size up or a boot with a roomier toe box.
The Heel Cup Check
Put on the boots unlaced and slide your foot forward until your toes touch the front. You should be able to fit one finger (not two, not zero) between your heel and the back of the boot. This ensures enough room for your foot to swell on long hikes without creating slop.
The Ankle Bone Test
Lace the boots and walk around for 10 minutes. Pay attention to where the ankle cuff contacts your malleolus. Sharp, localized pressure that doesn't ease up? Move on to another model.
When to Accept the Boot and When to Walk Away
Some discomfort is normal in the first 5-10 miles as materials soften and conform to your foot. Sharp, stabbing pain is not. Here's how to tell the difference:
Acceptable (will improve):
- Mild stiffness in the ankle cuff
- Slight tightness across the midfoot that eases as the boot flexes
- Minor hot spots that respond to lacing adjustments
Unacceptable (fit problem, not break-in):
- Heel slip that persists after heel-lock lacing
- Numbness or tingling in your toes or ankle
- Sharp pain on your ankle bones after 2-3 hikes
- Persistent rubbing in the same spot despite moleskin or lacing changes
If you're in the "unacceptable" camp after giving the boot a fair shot, return them. A boot that doesn't fit your anatomy won't magically improve with more miles—it'll just injure you.
Frequently Asked Questions
Should hiking boots feel tight around the ankle?
Snug, yes. Tight, no. The ankle cuff should hold your heel in place without restricting circulation or pressing into bone. You should be able to slide two fingers between the laced cuff and your leg (when standing). If you can't, the boot is too tight. If you can fit three or four fingers, it's too loose.
How long does it take for hiking boots to stop hurting your ankles?
Synthetic boots should feel comfortable within 5-10 miles. Leather boots may need 20-40 miles as the upper softens. If pain persists beyond that, it's a fit issue, not a break-in issue. Pain should decrease with each hike, not stay constant or worsen.
Can insoles fix ankle pain in hiking boots?
Yes, if the pain stems from poor arch support or foot misalignment. A collapsing arch throws your ankle out of whack, creating strain. Quality insoles (like Superfeet or custom orthotics) stabilize your foot and reduce torque on the ankle joint. But insoles won't fix heel slip or pressure points from a poorly shaped boot.
Are low-cut hiking shoes better for ankle pain than boots?
Sometimes. Low-cut shoes eliminate the stiff ankle cuff that causes rubbing and restriction, but they also provide less lateral support on uneven terrain. If your ankle pain is from cuff pressure or restricted range of motion, low-cuts may help. If it's from instability or rolling your ankle, you need better support, not less.
What's the best lacing technique to prevent ankle pain?
The heel-lock (runner's loop) technique is the gold standard. Thread your laces through the top eyelets to create loops on each side, then cross the laces through the opposite loop before tying. This locks your heel down without over-tightening the entire boot. Pair it with zone-specific tension (snug in the forefoot, firm at the ankle) for maximum comfort.
Final Thoughts
Ankle pain in hiking boots is almost always a solvable problem, but the solution isn't "just break them in." If your boots hurt after a few hikes, you're dealing with a fit issue—heel slip, volume mismatch, pressure points, or a lacing error. The fixes we've outlined (heel-lock lacing, volume-matched boots, targeted padding) work for most hikers without requiring new gear.
That said, if you've tried every adjustment and the pain persists, don't force it. A boot that doesn't match your anatomy will sideline you with blisters, tendonitis, or worse. The right pair should feel supportive within the first few miles and comfortable by the tenth. When shopping, prioritize heel lock, ankle padding, and volume match over brand hype or flashy features.
Get the fit right, and your boots will carry you thousands of miles without complaint. Get it wrong, and even the best trail becomes a slog. Choose wisely, lace smart, and enjoy the miles ahead.
Editor's Choice
Merrell Moab 3 Mid Waterproof — Our top pick for hikers who want immediate comfort and a proven fit that eliminates break-in ankle pain.
KEEN Targhee III Mid Waterproof — Best for wide feet or high-volume ankles; the generous toe box and roomy fit prevent the pressure points that cause compensatory pain.
Salomon X Ultra 4 GTX — If you prefer lightweight agility and natural ankle flex over tall, rigid cuffs, this low-cut delivers stability through precision fit rather than restriction.